
Introduction
This activity follows on from the Pickwick in the Park: Seasonal Soundscapes Activity, which explores the auditory environment with particular regard to the location of toll-roads and -gates near and next to Markeaton Park in the 1830s – as discussed in the Interactive Guide.
The guide also considered the significance of coach travel at this time regarding Christmas customs; and how this form of travel and transportation became associated with the season in the popular imagination, as manifest in nostalgic depictions of horse-drawn coaches on 20th-century greeting cards.
Many prints of coach illustrations were made in the early 1800s – long before Christmas cards became widely used, during and after the second half of the century (although invented in the early 1840s, their growth in popularity took some time, largely due to initially prohibitive costs, to both purchase, and post).
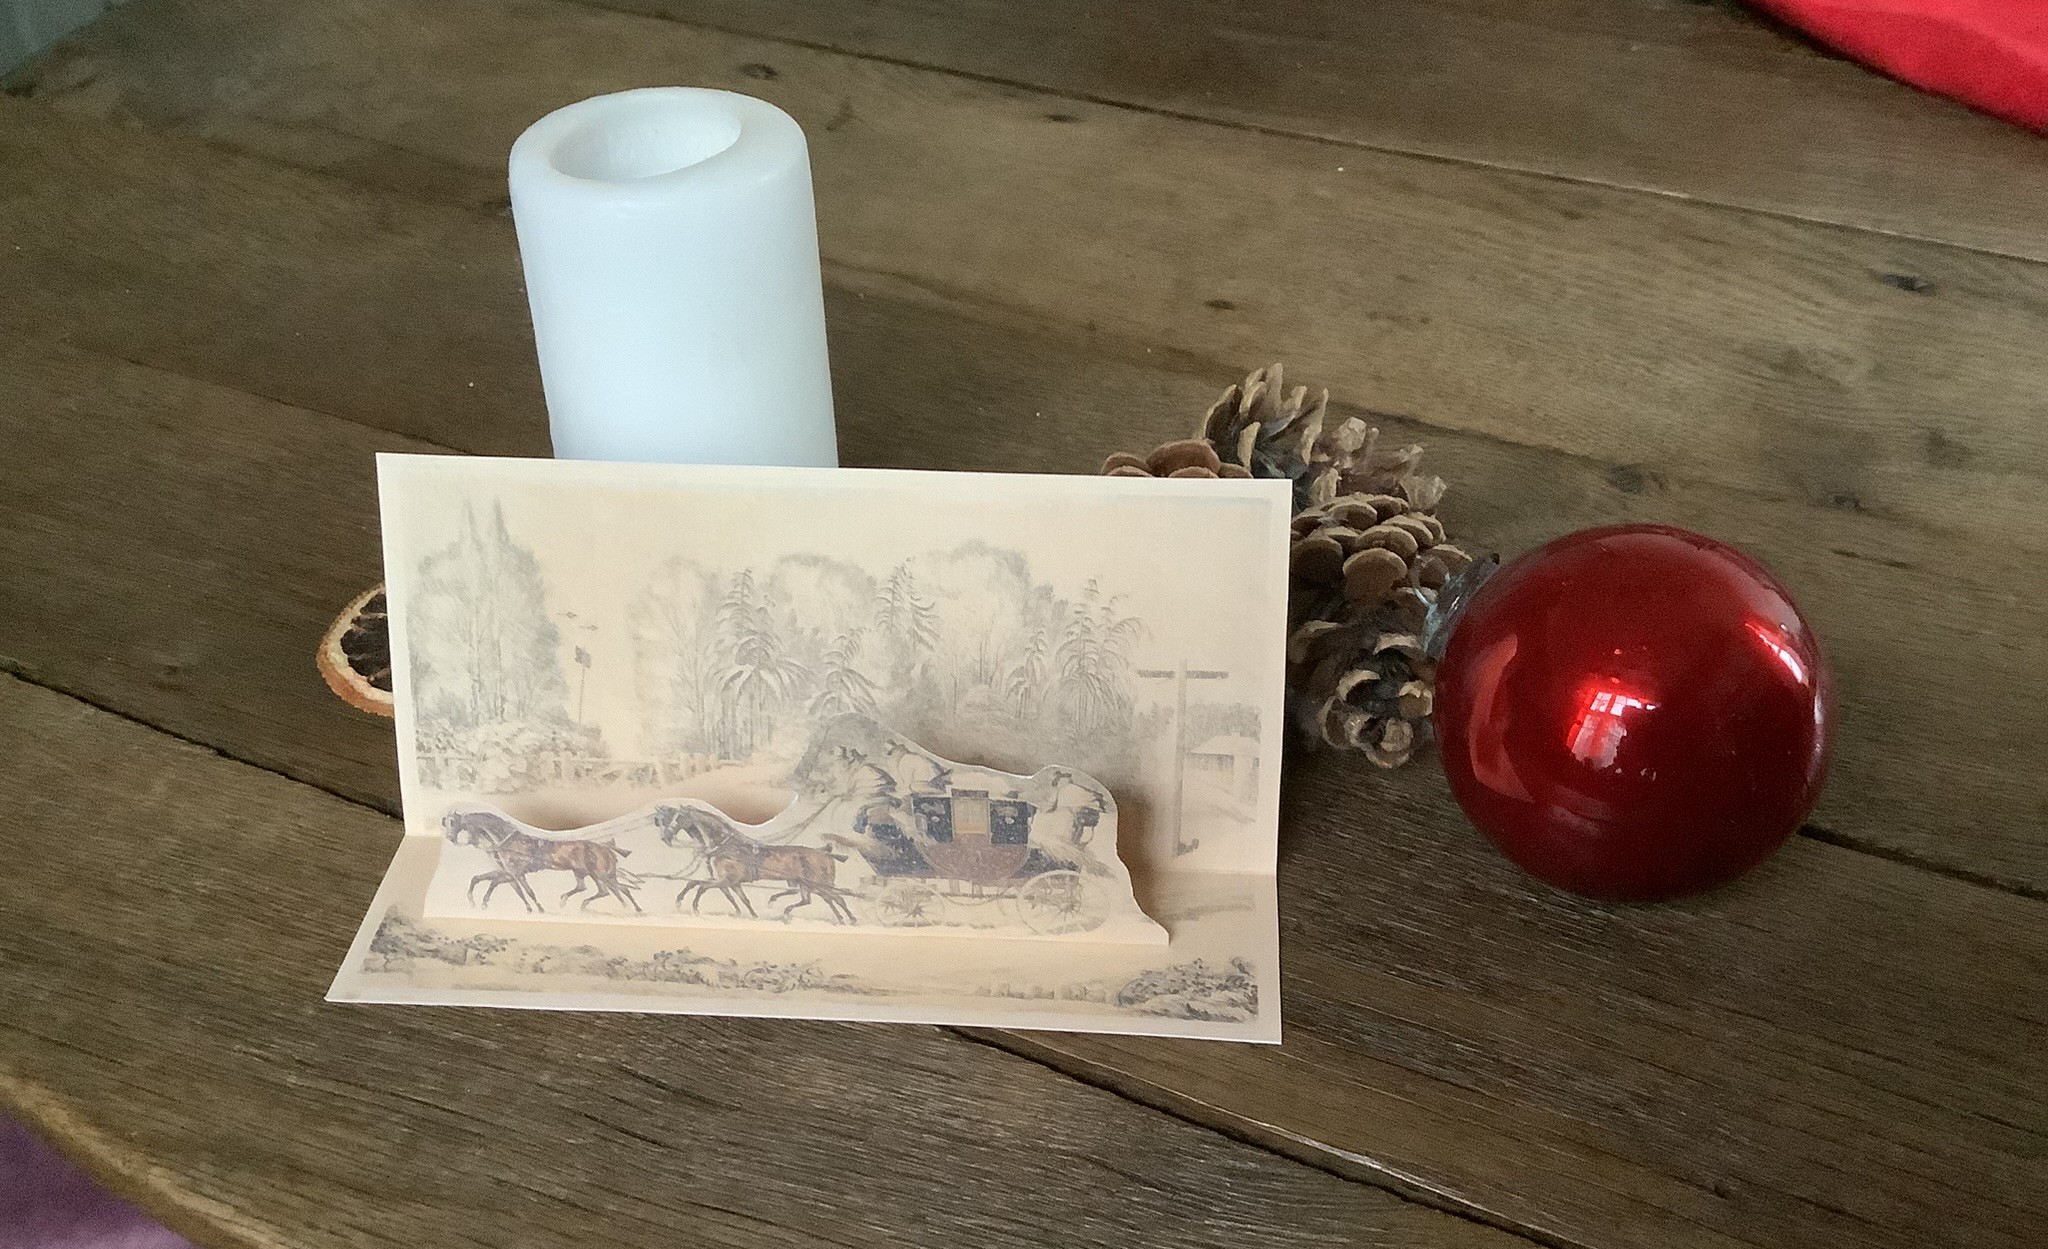
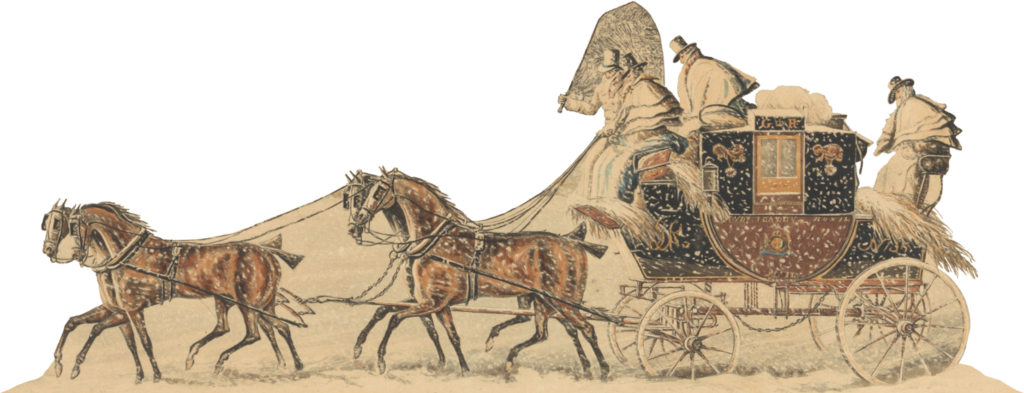
This related craft activity adapts a winter-themed coach print from the time (the feature image of this post) to make a 3D Christmas card.* Digital copies of two A4 sheets are provided to print- and cut-out out, and assemble, at home.

Activity Instructions
Children should get permission and help from responsible adults for this craft activity.
You’ll need:
- A suitable work-surface.
- Access to a printer.
- Pencil and 30cm ruler, or measuring tape.
- Scissors: large paper scissors; and if intending to create a 3D cut-out with a more detailed outline, small, sharp, pointed-end scissors (such as inexpensive nail scissors), or a craft knife (adults only).
- Two sheets of white A4 thin card or printer paper. If paper is used, one and a half A4-sized pieces of thin card are also required: recycled materials can be used, such as the sides of large cereal boxes, or thin card postal packets (corrugated card, as from packing boxes, will be too thick).
- Sticking-tape (double-sided provides the neatest finish); or paper glue (a glue-stick is preferable, although PVA glue can be used sparingly). (If ready-made adhesives is inaccessible, recipes for home-made craft glue, using inexpensive household ingredients, can be found on YouTube; an applicator could be made from suitable recycled materials, such as a narrow strip cut from a clean and dry empty of plastic milk bottle.)
Craft Directions
1. Download the sheets (PDFs here and here). Print out on thin A4 white card, or paper. If the images are rescaled during up/downloading or printing: it doesn’t matter if the images print out slightly smaller, providing that the two sheets are to the same scale; pdfs are less likely to automatically rescale.
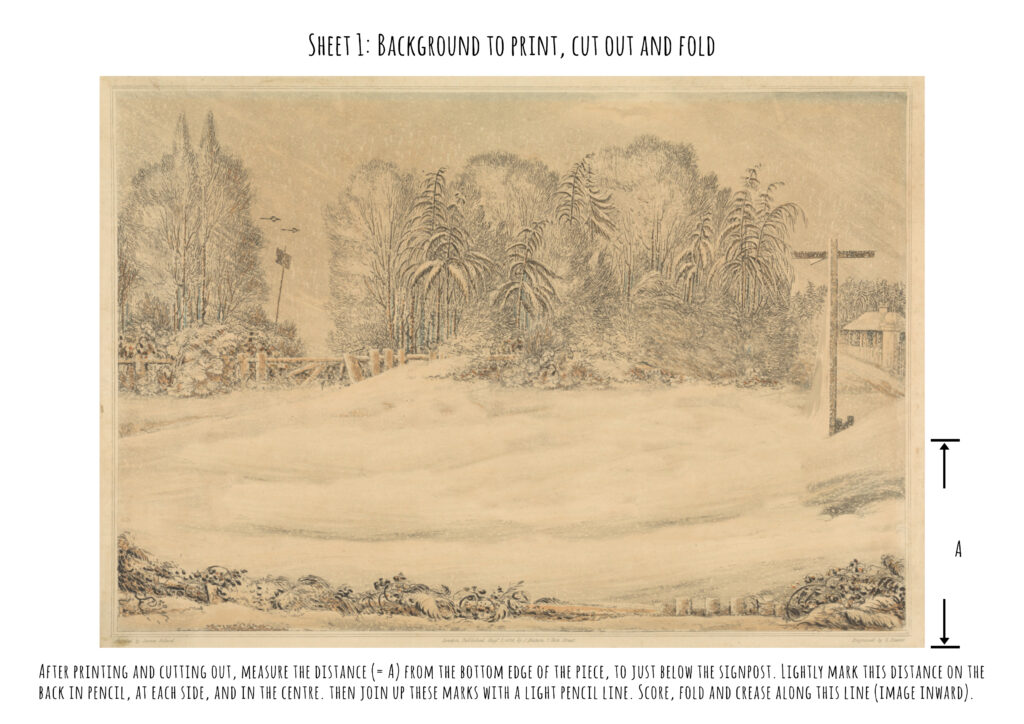
2. Cut out the image from the first sheet. Measure this distance from the bottom edge of the piece, to just below the signpost illustrated in the background scene. Lightly mark this measurement in pencil on the back, at each side, and in the centre; and join these marks with a lightly draw horizontal pencil line. Score, fold and crease along this line (from the back, with the image on the inside); and open so that the piece forms an ‘L’ shape, with the background image innermost.
If printed on paper, open out the folded piece, draw around it on card, and cut out. If the card has printing on one side (because it’s from a cereal packet, for example), measure and draw a horizontal pencil line on the plain side. Then score, fold and crease along the line, as with the printed paper (again from the back, with the print on the inside). Placing the printed side of the card against the back of the background print-out, align the edges and creased horizontal line, and stick the paper and card together. When the adhesive is dry (if using glue), fold and crease the finished card-backed background; and open so that it forms an ‘L’ shape, with the background image innermost.
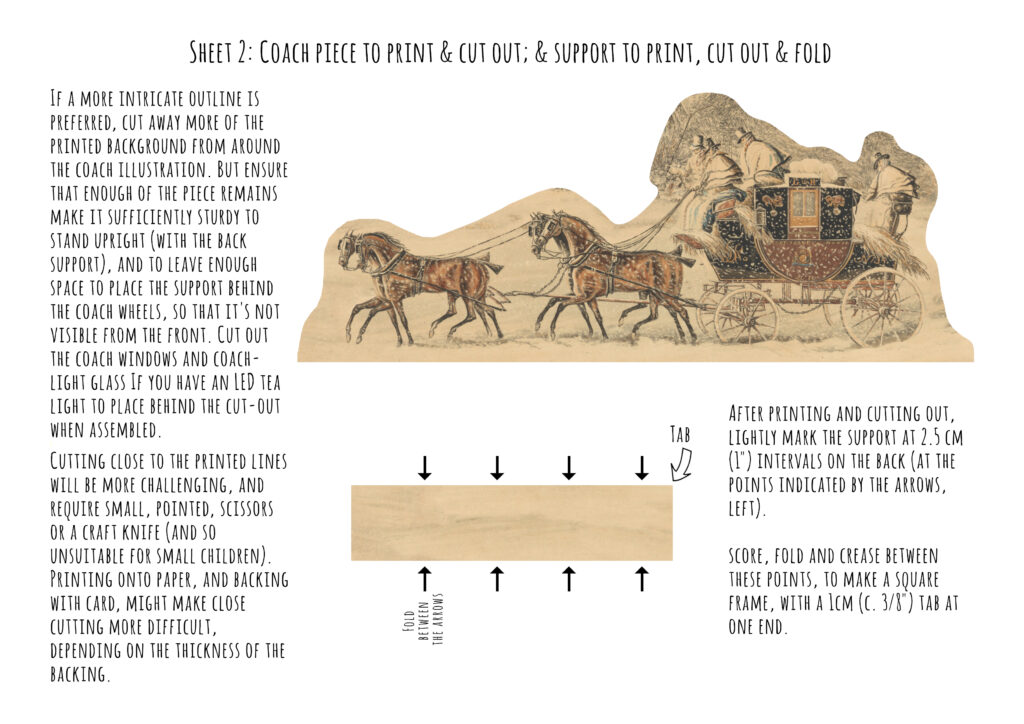
3. Take up the second printed sheet (illustrating the coach), and cut out the pieces (coach image and support). If printed on paper, repeat the process of creating card backing, as outlined in number 2.
Cut away more of the printed background, if preferred: this will make a more attractive finished product. But make sure that the piece remains sturdy enough to stand upright, with the back support, and to leave enough ‘fill’ for the support (see below: number 4, for attaching this). If you have an LED tea light, you could cut out the coach windows and coach-light glass, and place it behind the cut-out when assembled (don’t use a lit flame: the close proximity of card and paper make this too dangerous).
Cutting close to the printed lines will be more challenging, and require small, pointed, scissors or a craft knife (and so unsuitable for small children). Printing onto paper, and backing with card, might make close cutting more difficult, depending on the thickness of the backing.
4. Cut out the back support piece; and if printed on paper, use this as a template for cutting out card backing, then stick the paper and card together, as with the background and coach cut-out (following the directions given in number 2).
Fold, score, and crease the end tab (if using printed recycled card, inwards, over the printed side); then fold, score, and crease the piece at 2.5cm (1″) intervals (in the middle, and midway between the middle, and the tab). This should leave a square frame, with a 1cm (3/8″) tab at one end; again, if using printed recycled card, bend inwards, to conceal this. Attach this tab to the inner side of the other end, to secure the square, and attach one side to the back of the coach piece, level with the bottom edge: the coach cut-out should now stand upright when placed on a flat surface.
5. Attach the coach cut-out to the road area depicted on the background piece by sticking the underside of the support to its base; and, if using thin card for the background, stick the back vertical side of the square support to the vertical part of the background, to help this stand upright.
You’ve now completed your card! Send in photos, to show how well you’ve done!
This’ll be the last Pickwick in the Park craft activity; and the final activity relating to the Dickensian Derbyshire Country Christmas Interactive Guide – a quiz based on content, which’ll be available before then end of next week – will round off the Christmas-themed content for this year.

* This involved separating the coach illustration (by digitally clipping out) from the print, and digitally creating an extended area of background in its place; forming these components into separate pieces that can be worked with using basic household materials and equipment; and shortening the coachman’s horse-whip, to make the piece more sturdy.
Leave a Reply